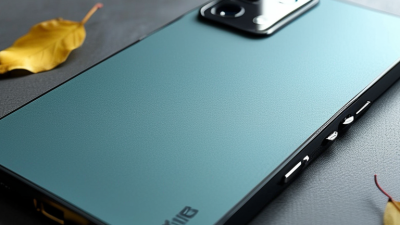
Diy Phone Cases are becoming more than a weekend craft. They combine personal style, practical protection, and a small test of design judgment. IDC reported 1.23 billion smartphone shipments worldwide in 2024, creating a vast audience for case customization. Grand View Research also identifies continued growth in the mobile phone protective cover market. These figures suggest strong demand, but they do not guarantee that every handmade case will sell or perform well.
This guide focuses on realistic methods for making attractive cases with accessible materials. You will see how to choose a clear case, plan a layout, apply printed designs, and protect the surface with a suitable finish. A phone case should feel smooth, fit tightly, and leave the camera, buttons, speakers, and charging port unobstructed. Small details matter. A raised sticker may look excellent, yet it can catch on clothing or interfere with wireless charging.
Safety matters too. Use skin-safe adhesives, work in a ventilated area, and follow each product’s instructions. Avoid materials that shed, melt near heat, or weaken the case. GSMA’s State of Mobile Internet Connectivity report shows how widely mobile devices support daily communication and services. That wider role makes reliable protection more important than decoration alone. My early attempts were not perfect; uneven resin and poor alignment taught me more than polished results. Your first case may also need revision. That is part of the craft.
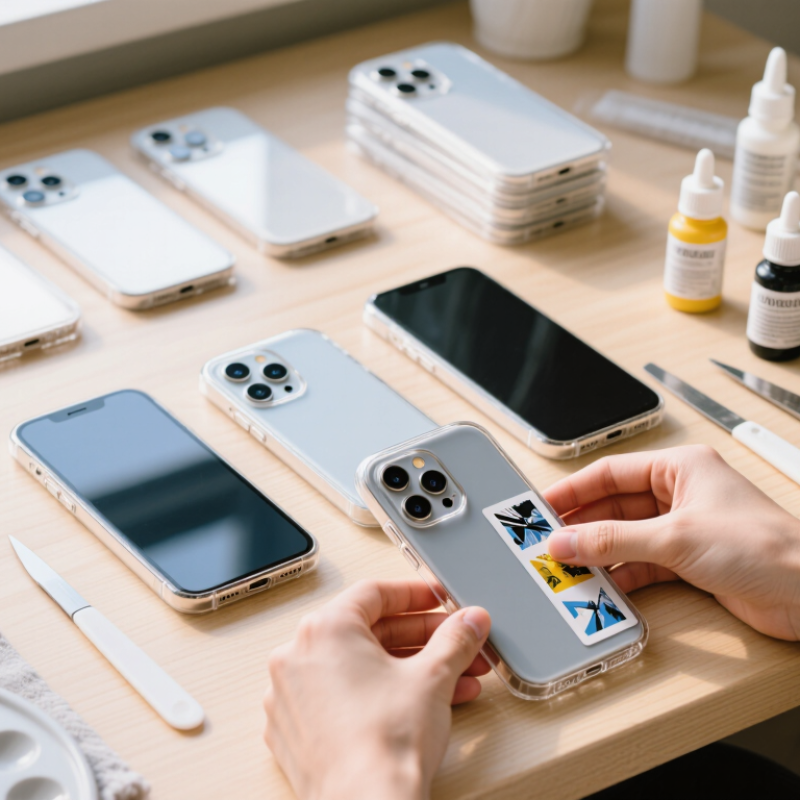
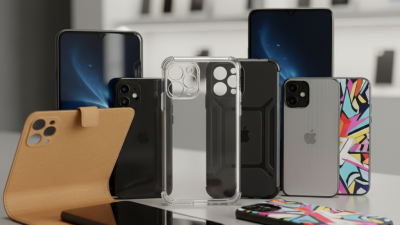
Choosing a phone case style is easier when you begin with how you use your phone. A slim, clear case suits a simple look, while a matte base can make painted shapes stand out. Collage-style cases feel personal, but raised pieces may snag in a pocket. Keep decorations away from the camera, buttons, charging port, and microphone openings. A small paper sketch helps you test the layout before anything is glued down. It need not be perfect.
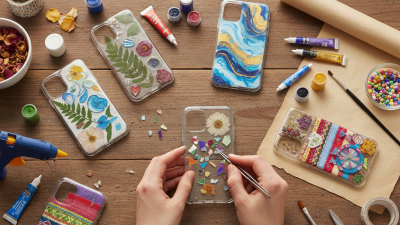
Gather a case made for your exact phone model, lightweight decorations, a soft cloth, and an adhesive labeled for the case material. Acrylic paint can work on some surfaces, but check compatibility and let each coat dry fully. For a collage, try thin paper shapes or flat stickers rather than bulky beads. Keep a toothpick nearby for placing tiny details, and use a washable work surface. Ventilate the room when using adhesives, and follow their handling instructions.
Test your design on the case before committing. A decoration that looks balanced on a table may cover a lens once the phone is fitted. Leave edges clear so the case can grip properly. Slightly uneven brush marks can add character; loose pieces are less charming. If paint rubs off during a gentle dry test, pause and reconsider the material or finish. The case should still feel comfortable in your hand.
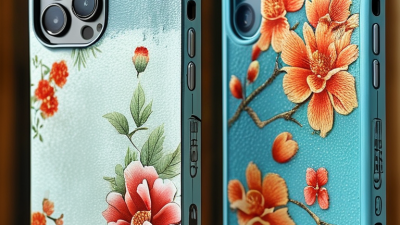
Measure the phone itself, not an old case. Record its height, width, and thickness in millimeters, and note whether the corners are rounded. A ruler works, but calipers give more reliable readings. Small gaps matter. Measure the camera bump too, including how far it rises and how much space its lenses need. Sketch the button positions, speaker openings, and charging port on a simple outline.
Plan the case around access as well as appearance. Mark each opening from the same reference edge, such as the phone’s bottom-left corner, so measurements stay consistent. Add a little clearance around ports and buttons; the right amount depends on your material and how accurately you can cut it. For a first draft, make a paper template and place it against the phone. Check that the camera area and controls line up. Paper is forgiving.
Account for material thickness before drawing the final shape. A case made from thick foam or layered fabric may need more room than a thin, flexible cover. Leave enough space for the phone to slide in without forcing it, but avoid a loose fit. I once made a template that looked neat on paper and still blocked a button. Annoying, but useful. Adjust the outline, then test it again before cutting your chosen material.
| Design Dimension | How to Measure or Plan It | Useful Measurement or Starting Point | Design Check |
|---|---|---|---|
| Phone height | Measure from the highest point at the top edge to the lowest point at the bottom edge, with the phone lying flat. | Record in millimeters (mm); measure three times and note the consistent result. | Use the phone’s actual outer dimension, not a screen-size specification. |
| Phone width | Measure across the widest part of the phone body, including any side curves that affect the fit. | Record in millimeters (mm); check both the top and lower sections if the sides are curved. | Plan the inner case width around the widest measured section. |
| Phone thickness | Measure the body from its back surface to the highest point on the front, excluding removable accessories. | Record in millimeters (mm); check the camera bump separately. | Include the camera protrusion when planning the case’s back clearance. |
| Fit clearance | Allow space between the phone and the case’s inner walls so the phone can be inserted and removed. | A practical prototype starting point is about 0.5–1.0 mm per side; adjust for the material and fabrication method. | This is a starting range, not a universal standard. Test the fit before making the final case. |
| Corner shape | Observe and sketch each corner’s curve; compare it with a paper outline or a simple tracing. | Use the phone’s actual corner profile rather than assuming a sharp 90-degree corner. | Check that the case corners do not press against or leave excessive gaps around the phone. |
| Camera opening | Measure the camera area’s width, height, and distance from the phone’s top and side edges. | Measure the full camera island, including any raised surround; add a small trial clearance. | Make sure the opening does not cover a lens, flash, microphone, or sensor. |
| Buttons and switches | Mark each control’s position from a fixed edge, then record its length and height. | Measure the location and opening size in millimeters; check both sides of the phone. | Leave enough room for the controls to move and remain easy to press. |
| Charging port and speaker | Measure the port and speaker positions from the bottom edge, including the spacing between openings. | Record opening width, height, and center positions in millimeters. | Test the opening with the intended cable connector and keep speaker holes unobstructed. |
| Front-edge coverage | Decide how far the case should rise above the screen around the perimeter. | Choose a small, even lip only if it will not interfere with the screen or a screen protector. | Check the fit with any screen protector that will be used with the case. |
| Final prototype check | Compare the finished prototype with the phone before decorating or sealing it. | Check insertion, removal, button operation, camera clearance, port access, and speaker output. | Correct tight spots or blocked openings before making the final version. |
Building a DIY phone case starts with a clean, correctly sized clear case. Check that the camera, buttons, speakers, and charging port remain uncovered. A paper template helps map the back panel before you cut or decorate anything. Small details matter.
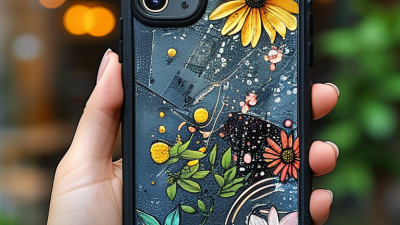
For a simple insert, trace the case onto thin cardstock, trim just inside the line, and test the fit before adding decoration. Pressed leaves or small paper shapes can sit beneath the clear shell. Keep them flat and away from camera openings. For a painted design, use a thin layer of water-based acrylic on the outside of the case, then let it dry fully before handling. Avoid thick coatings; they can peel or make the case slippery. Never heat a case to force a shape, since some plastics warp unevenly. My first paper insert was slightly crooked. I had to trim one edge twice, and the result still was not perfect. That was useful: test pieces are cheaper than starting over. After decorating, fit the case and check every control before using the phone. If a button feels stiff, remove the case and adjust the design rather than pressing harder.
I have made several DIY phone cases, and personalization works best when decoration serves a purpose. Start with a clear, flexible case that fits the phone tightly. Add initials, pressed paper, fabric shapes, or small raised patterns for better grip. Keep decorations thin around the camera, buttons, microphone, and charging opening. My first design looked attractive, but its thick corners made the phone awkward to hold. That mistake taught me to test comfort before adding more details. Use fully cured adhesive and materials labeled for craft use. Loose pieces can scratch the phone or become a choking hazard around children.
Tips: Sketch the layout first. Measure openings carefully. Test the case overnight. Avoid metal near wireless charging areas. Press every decoration firmly. If the case bends, remove heavy pieces. Small flaws are acceptable, but weak attachment is not.
Functional features can make the case more useful without making it bulky. Create a shallow card pocket for one emergency note, or add a textured side strip for extra grip. A removable wrist loop may help during travel, but it should attach through a reinforced opening. Check that the phone still rests flat and does not overheat during charging. I sometimes leave one side less decorated because balance matters more than perfect symmetry. Before daily use, shake the case gently, inspect the edges, and test every button. Recheck it after a week, since adhesives and fabric layers can shift.
How to Make DIY Phone Cases in 2026?
Testing the Case for Fit, Protection, and Durability
In 2026, a DIY phone case should be tested like a protective system, not judged by appearance. IDC recorded 1.24 billion smartphone shipments worldwide in 2024, a 6.2% annual increase. That scale makes fit testing essential. Tiny camera and button errors can affect many devices. Measure the phone with calipers. Keep every opening clean. A tight case may press buttons, while a loose case can shift during impact.
Test protection with controlled drops from one meter. Use the same surface and height each time. Test corners, edges, and the back separately. IEC 60068-2-31 describes rough-handling methods, but copying one test does not create certified protection. Check the screen, camera area, and case seams after every drop. Do not trust a case that only survives one dramatic fall.
Durability needs repetition. Try 30 drops, light abrasion, and several hours in a warm room. Keep a simple log of cracks, stretching, and button pressure. My first prototype looked strong but became loose near the charging port. That result exposed a design flaw. The Global E-waste Monitor 2024 reported 62 million tonnes of electronic waste in 2022, with only 22.3% formally recycled. A repairable case insert could extend useful life, but only if replacement remains practical.
Energy is calculated using E = mgh for a 200 g device, with gravitational acceleration of 9.81 m/s². These estimates help compare drop heights; they are not impact-test results or a measure of case performance. When testing a DIY case, also check that it fits securely and inspect it for wear after repeated use. Results vary with the drop surface, device orientation, and case materials.